The loose-lead plan
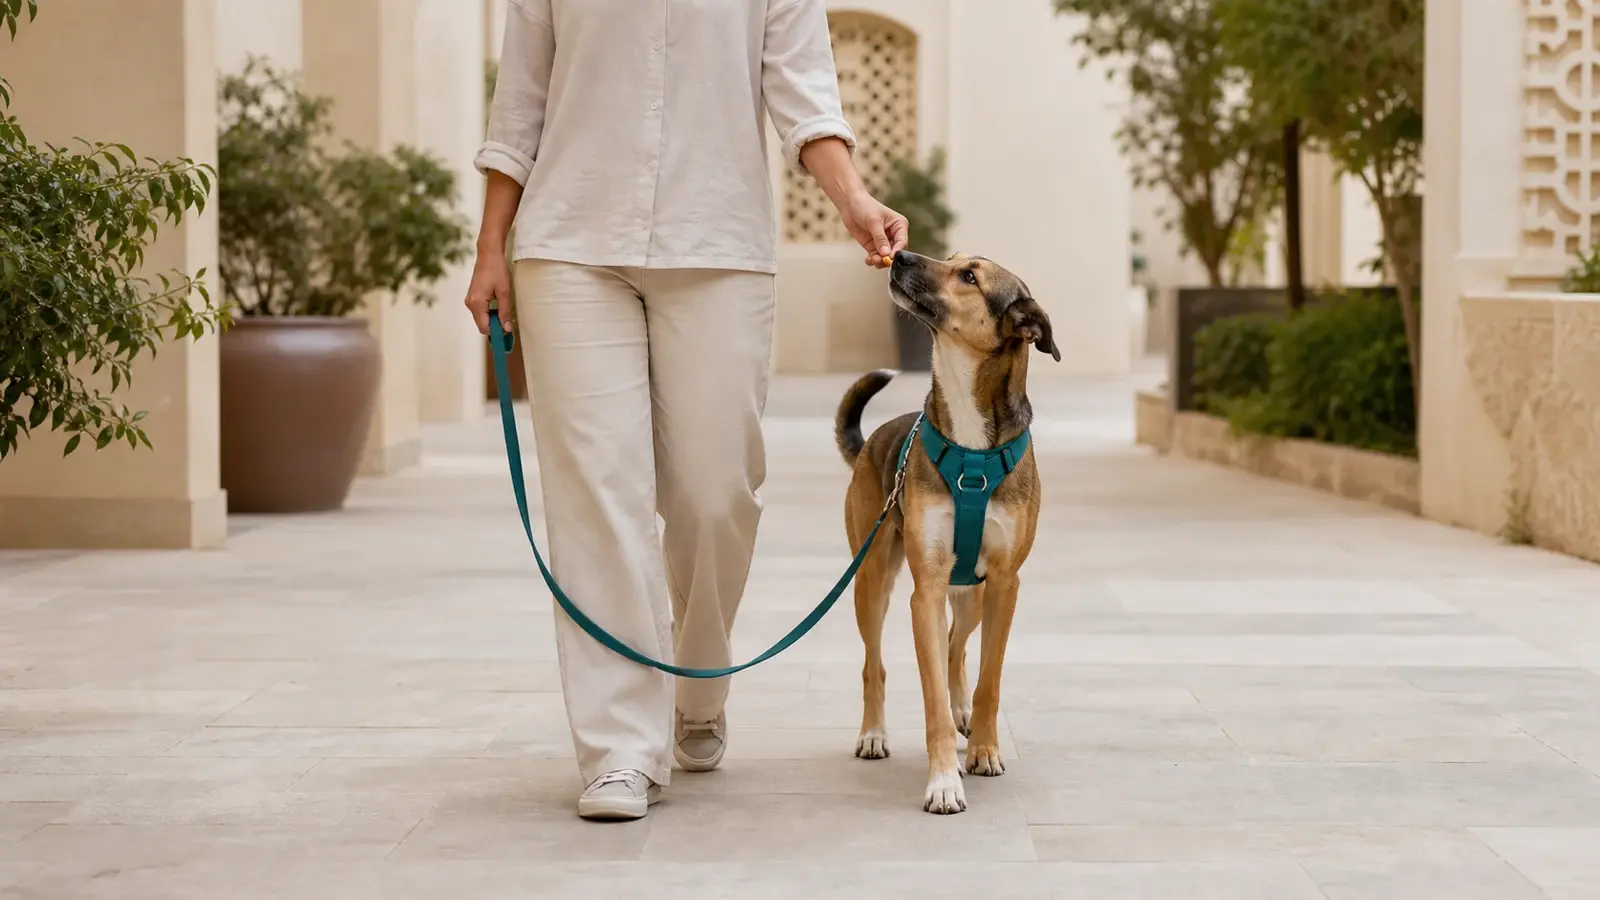
- Choose a comfortable, well-fitted harness or collar and a standard fixed-length lead; check the fit and condition before each session.
- Begin in a quiet, cooled indoor space and reward your dog for choosing to stay near you while the lead hangs slack.
- Add only a few steps at first, marking and rewarding the position you want before the lead becomes tight.
- If the lead tightens, stop calmly or create more distance from the distraction; do not jerk the lead or scold the dog.
- Increase duration, location and distractions one at a time, and keep outdoor practice within the day's safe weather window.
- Seek veterinary and qualified reward-based behaviour support when pain, fear, lunging, aggression or a risk of falling may be involved.
Loose-lead walking means the lead can hang in a relaxed curve while dog and handler move safely together. It does not require a formal heel, constant eye contact or one fixed position. The practical goal is a dog who can explore without dragging the handler or meeting repeated pressure at the neck or body.
The American Veterinary Society of Animal Behavior recommends reward-based methods for all dog training and says aversive methods should not be used. UAE animal-welfare law separately requires carers to take necessary precautions against harm, pain and suffering and to account for an animal's needs. The law establishes the welfare duty; the training sequence below is an editorial application of professional guidance, not an additional legal rule.
Define a realistic finish line
Choose a simple rule that everyone handling the dog can recognise: when the lead is slack, the walk can continue; when it becomes tight, forward progress pauses. Allow room for sniffing and comfortable movement rather than asking for a competition-style heel throughout an ordinary walk. Consistency matters more than choosing the left or right side.
Check the dog and equipment before training
Use equipment that is secure, comfortable and correctly fitted for the individual dog. Dogs Trust advises avoiding devices that cause pain or discomfort when a dog pulls and gives a flat harness or collar as comfortable examples. A harness can help distribute handling pressure, but no item teaches the skill by itself. Introduce unfamiliar equipment gradually with rewards and follow the manufacturer's fitting instructions.
- Inspect clips, stitching and the lead before use, and make sure the dog cannot back out of the fitted equipment.
- Use a fixed-length lead that you can hold securely; avoid wrapping it around your hand or fingers.
- Choose small rewards the dog values and account for food rewards within the normal daily allowance.
- Wear stable footwear and begin on a non-slip surface with enough room to turn.
- If pulling starts suddenly, movement looks painful, breathing is affected or equipment has rubbed the skin, pause and seek veterinary advice rather than training through it.
Stage 1: Reward the position indoors
Start without moving. In a quiet room, wait for your dog to stand near you with a relaxed body. Mark that moment with a short word such as “yes”, then deliver a reward beside your leg. Toss a reset treat a short distance away if the floor is safe, let the dog return voluntarily and reward the near position again.
Stage 2: Add one to five easy steps
Clip on the lead when your dog is comfortable with the equipment. Take one step, mark the slack lead and reward by your side. Repeat, then build to two or three steps before rewarding. Turn gently before reaching the edge of the room. Short, successful repetitions teach more clearly than marching until either of you becomes frustrated.
- Keep the lead long enough to form a relaxed curve, but not so long that it tangles around legs or furniture.
- Vary your direction and pace slightly so the dog learns to notice your movement rather than memorising a straight line.
- Use frequent rewards while the skill is new; space them out gradually only when the dog remains successful.
- End while the dog is still engaged. A session can be less than a minute.
What to do when the lead tightens
Dogs Trust and the RSPCA both describe a calm stop-and-resume pattern: stop before moving farther into the pressure, stay quiet, and continue when the lead is slack and the dog is back within the workable area. You can encourage a reset by taking a couple of steps away from the distraction. Reward the loose lead before moving on.
Stage 3: Move outdoors without skipping levels
Move from the room to a quiet corridor or other permitted secure area, then to a calm outdoor spot. A new location is a real increase in difficulty, even when the dog performed perfectly indoors. Begin again with generous rewards and only a few steps. Add duration, distance from home and distractions separately rather than all at once.
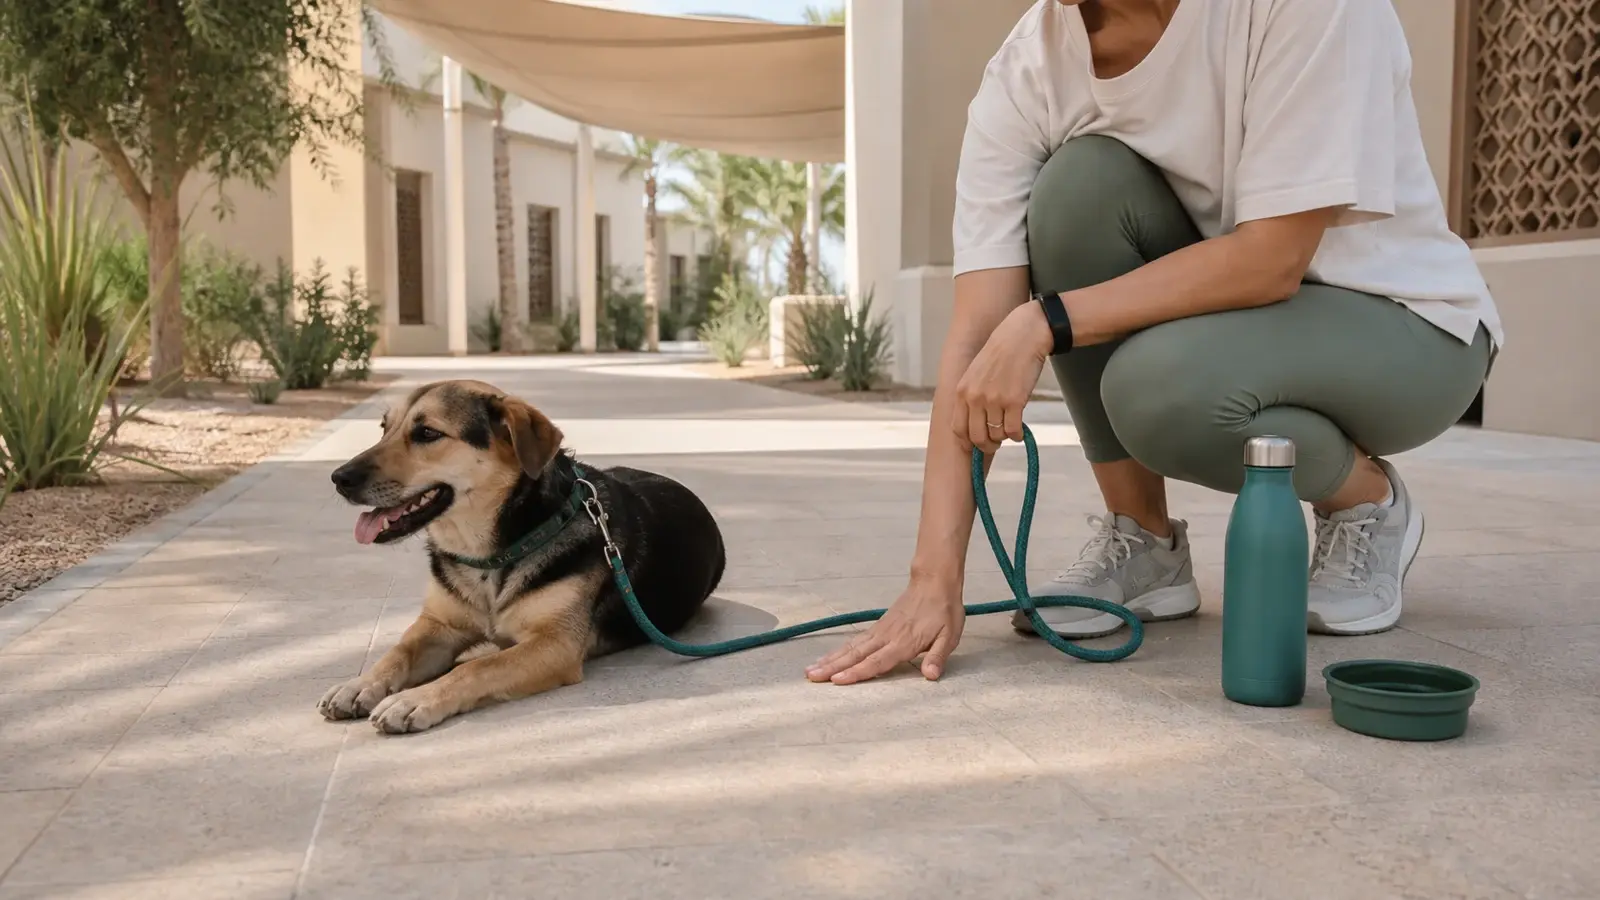
UAE conditions add a separate safety decision. Indoor practice can build the skill when hot or humid weather makes a longer outdoor session unsuitable, but it does not replace necessary toileting or appropriate exercise. Use the UAE summer dog-walk safety plan to check live conditions, the route and the individual dog before outdoor work. Carrying treats or water never makes an unsafe walk acceptable.
Teach around distractions at a workable distance
Start far enough from people, dogs, birds, traffic, food smells or a favourite patch of grass that your dog can still eat, turn and move with you. Mark and reward a voluntary glance back, then allow a calm sniff or forward movement when safe. Access to the environment can be part of the reward; the dog does not have to stare at you for the whole walk.
- Practise a cheerful turn-away cue in the house before using it near a distraction.
- Cross the road or change direction early when space is available and safe, rather than waiting for the lead to go tight.
- Do not require on-lead greetings with unfamiliar dogs; create room and follow local access rules.
- If a location repeatedly overwhelms the dog, choose a quieter route while the foundation develops.
- Record which distances and settings worked so the next session starts at an achievable level.
Separate focused practice from the whole walk
A dog still needs safe opportunities to sniff, toilet and move while learning. Begin with a short focused section, then release the dog to sniff on a comfortable length of lead where the setting permits it. Use a consistent verbal cue to distinguish the two. Slack remains the safety rule in both modes; the difference is how much freedom to explore is available.
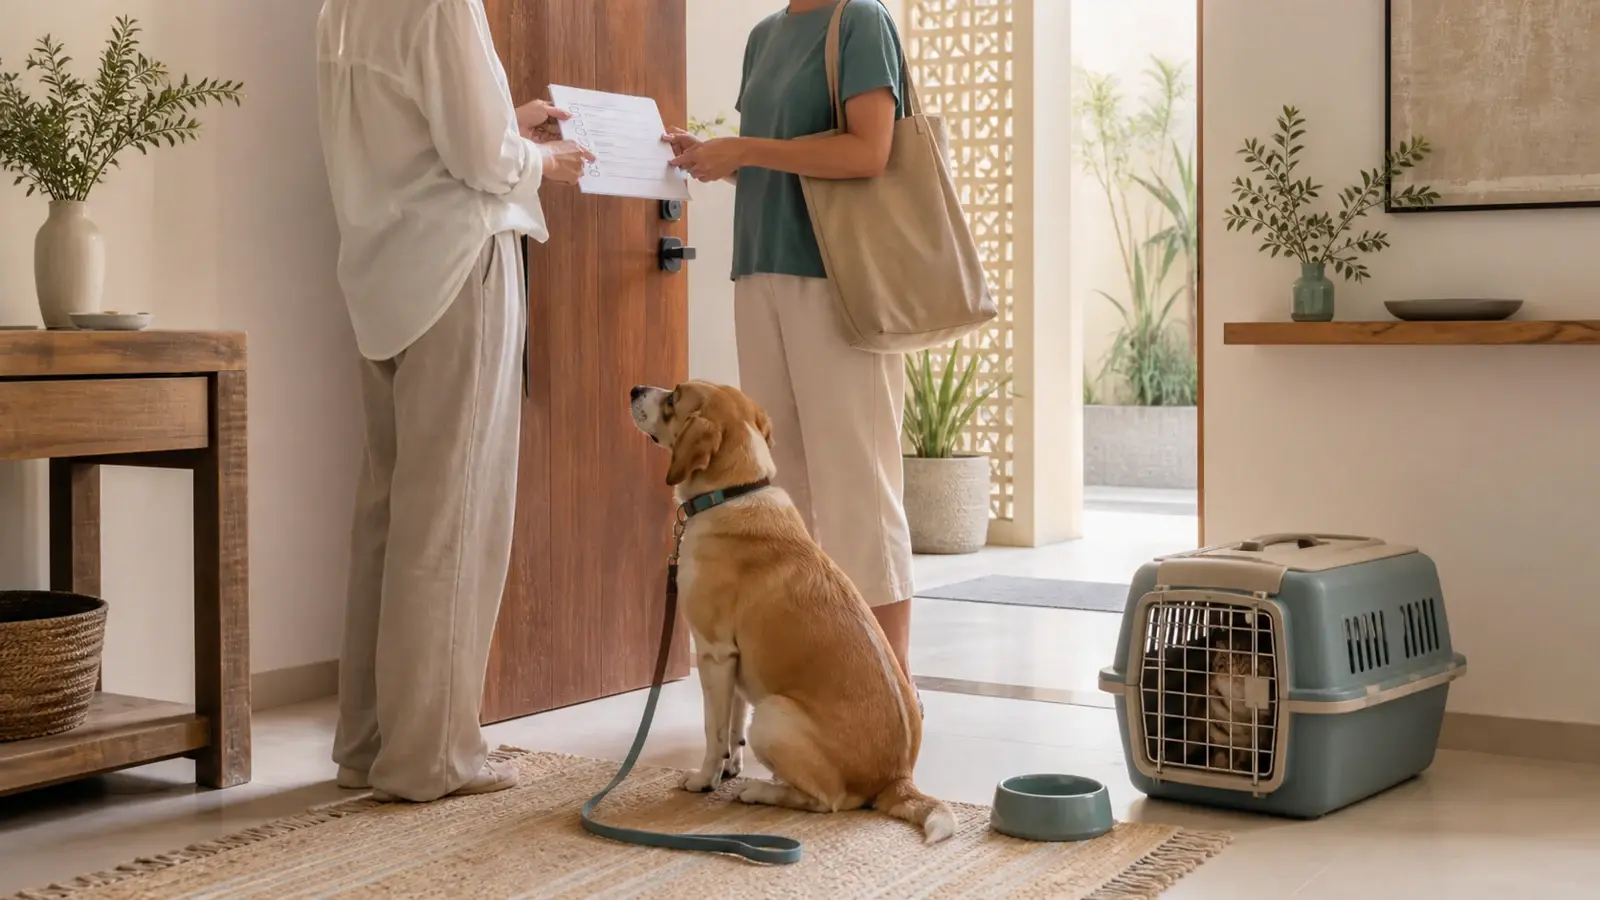
If a dog walker or sitter handles your dog, write down the cue, reward placement, equipment and reset plan so the dog is not meeting conflicting rules. The UAE boarding and pet-sitter checklist can help you prepare that handover.
Know when a simple training plan is not enough
Pulling accompanied by panic, freezing, repeated lunging, aggression, breathing difficulty, pain or an abrupt behaviour change needs more than a generic online exercise. Contact a licensed veterinarian to rule out a health contribution and ask for referral to an appropriately qualified, reward-based behaviour professional when needed. If the dog can pull the handler over or reach traffic, animals or people, prioritise distance and immediate physical safety rather than attempting the next training stage.
A flexible five-session starter plan
- Session 1: reward the dog for choosing a relaxed position near you without the lead attached.
- Session 2: attach the lead indoors and reward slack while standing still and turning gently.
- Session 3: build from one step to several, rewarding before the lead tightens.
- Session 4: practise the calm stop, reset and turn-away patterns in the same quiet space.
- Session 5: repeat the easiest successful version in a new but low-distraction location.
These are sessions, not consecutive-day deadlines. Repeat a stage as often as needed and step back after a difficult outing. The useful measure is not distance walked or treats saved; it is whether dog and handler can move safely with a relaxed lead and without fear, pain or conflict.